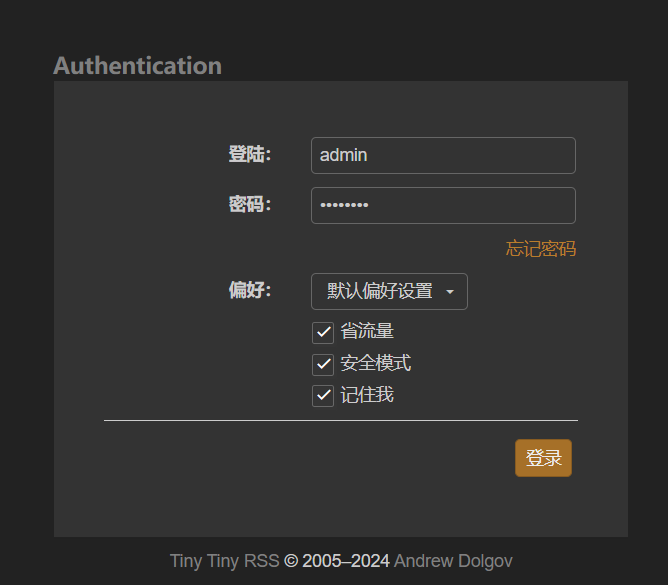
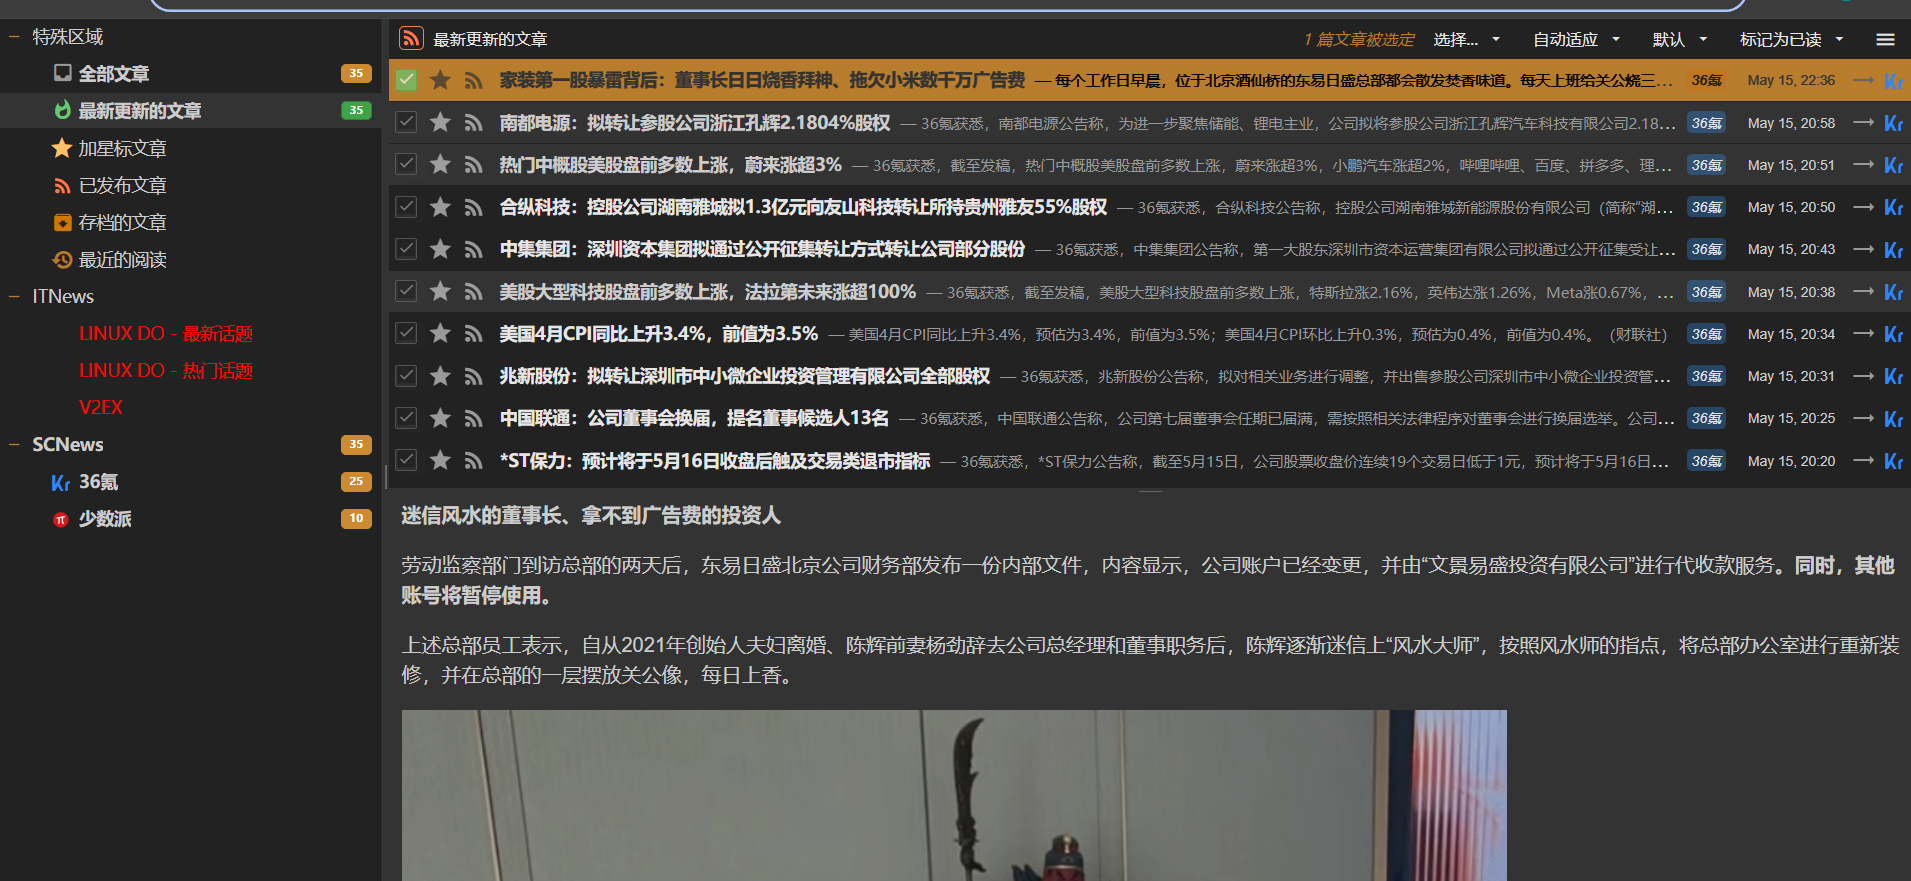
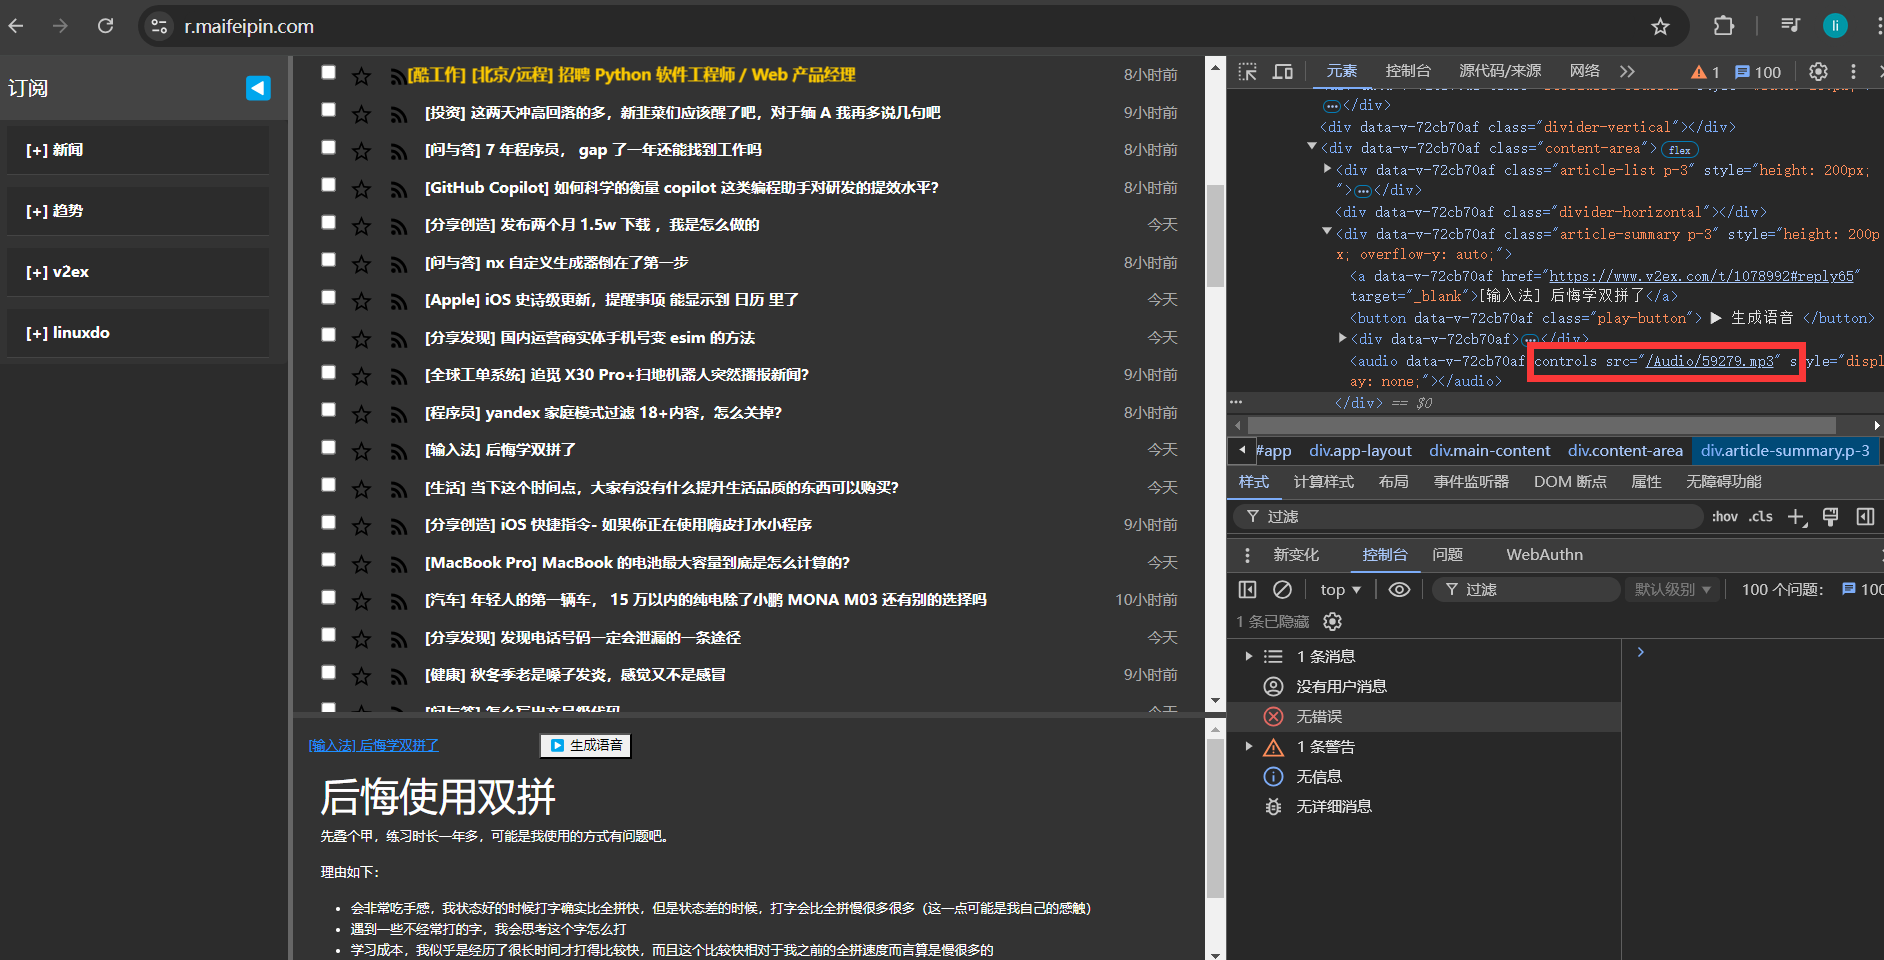
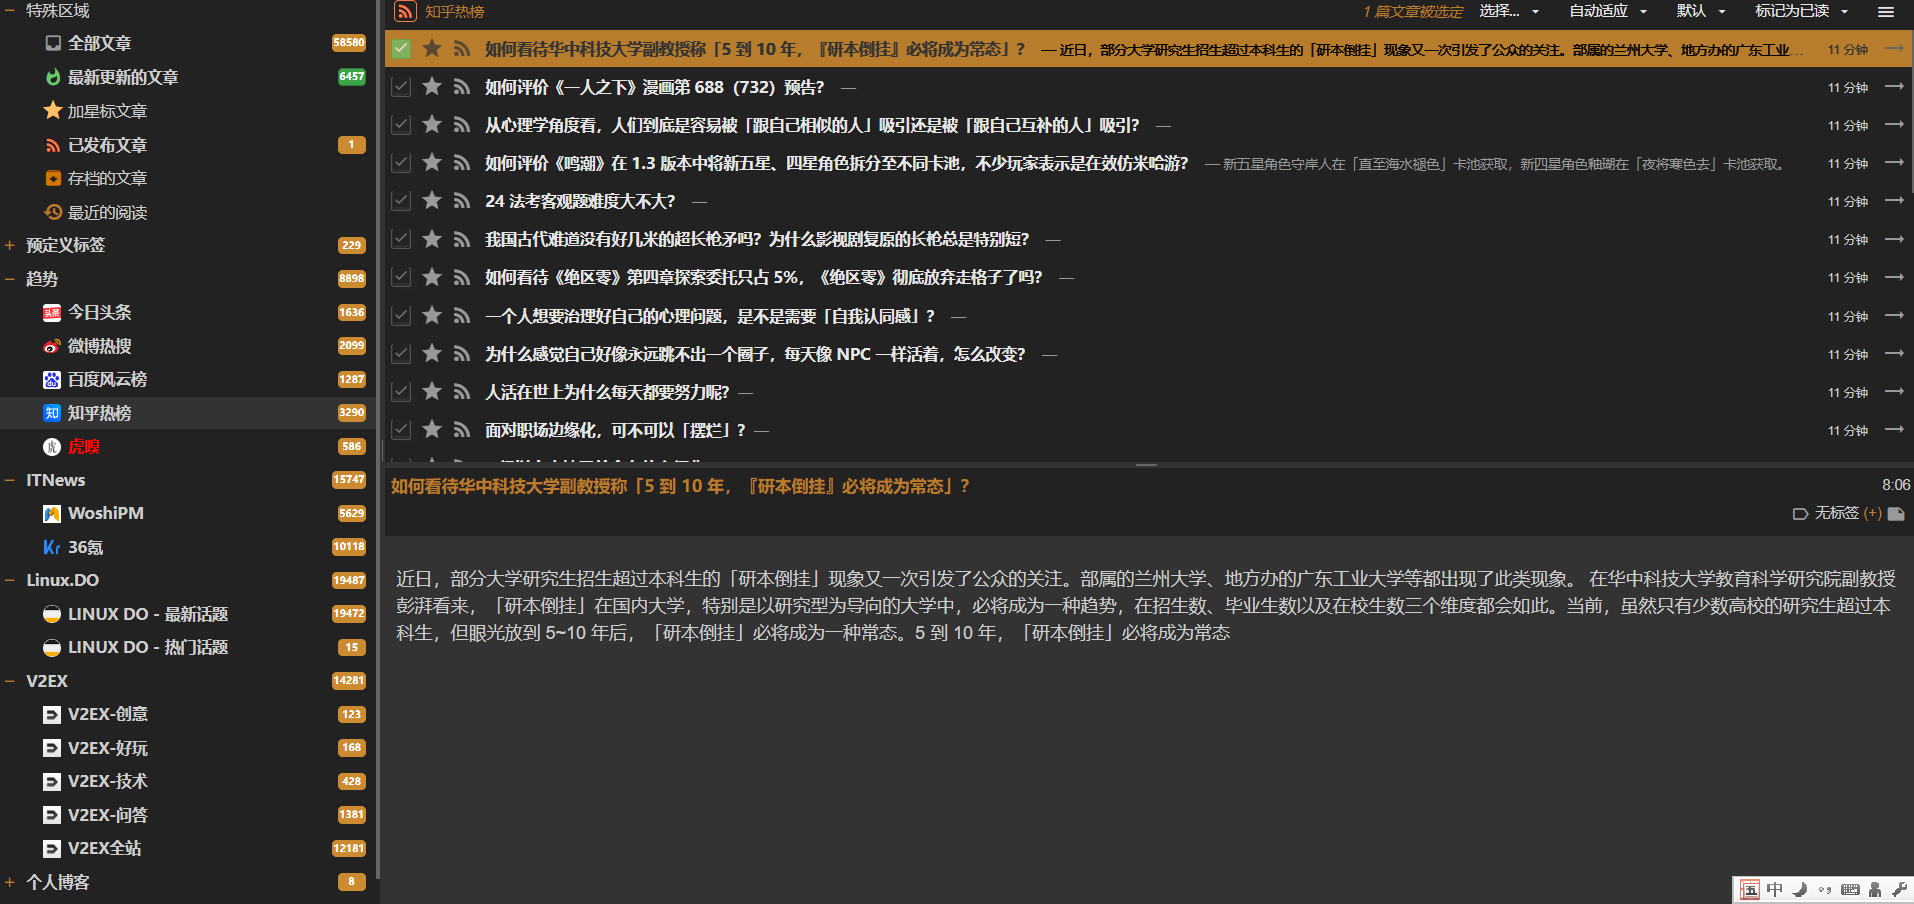
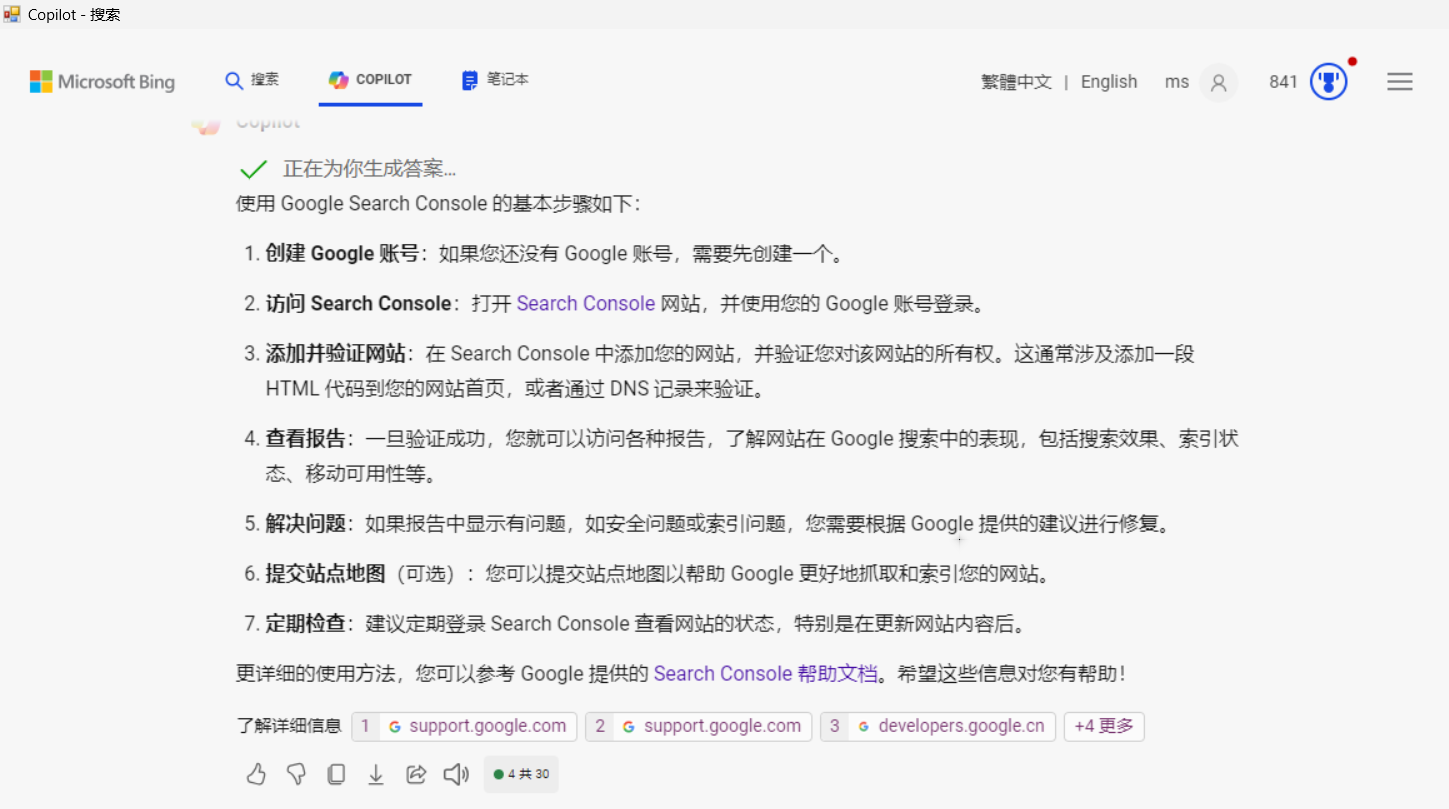
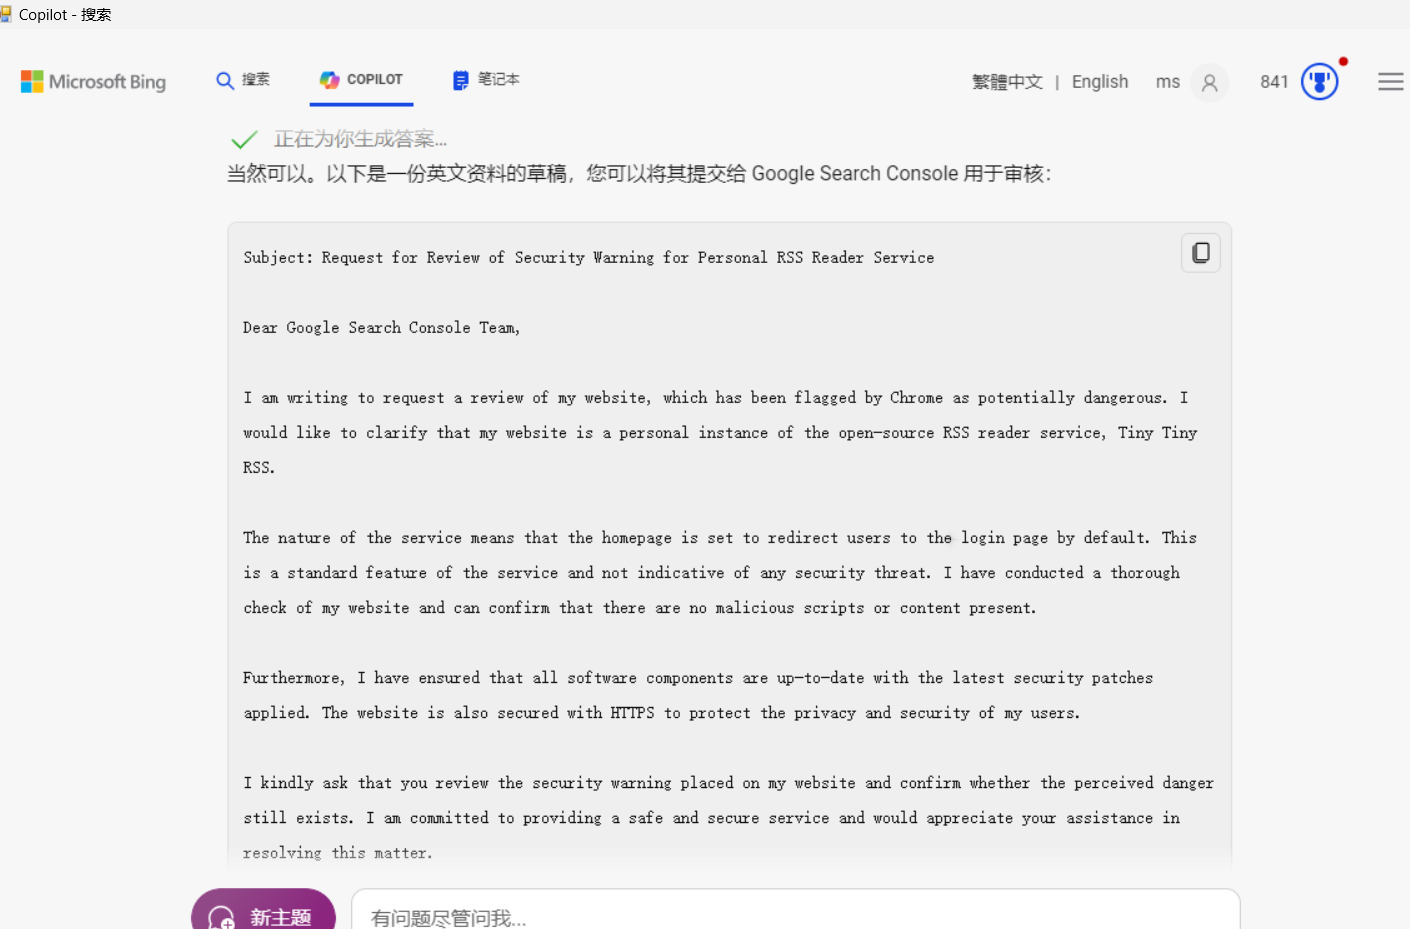
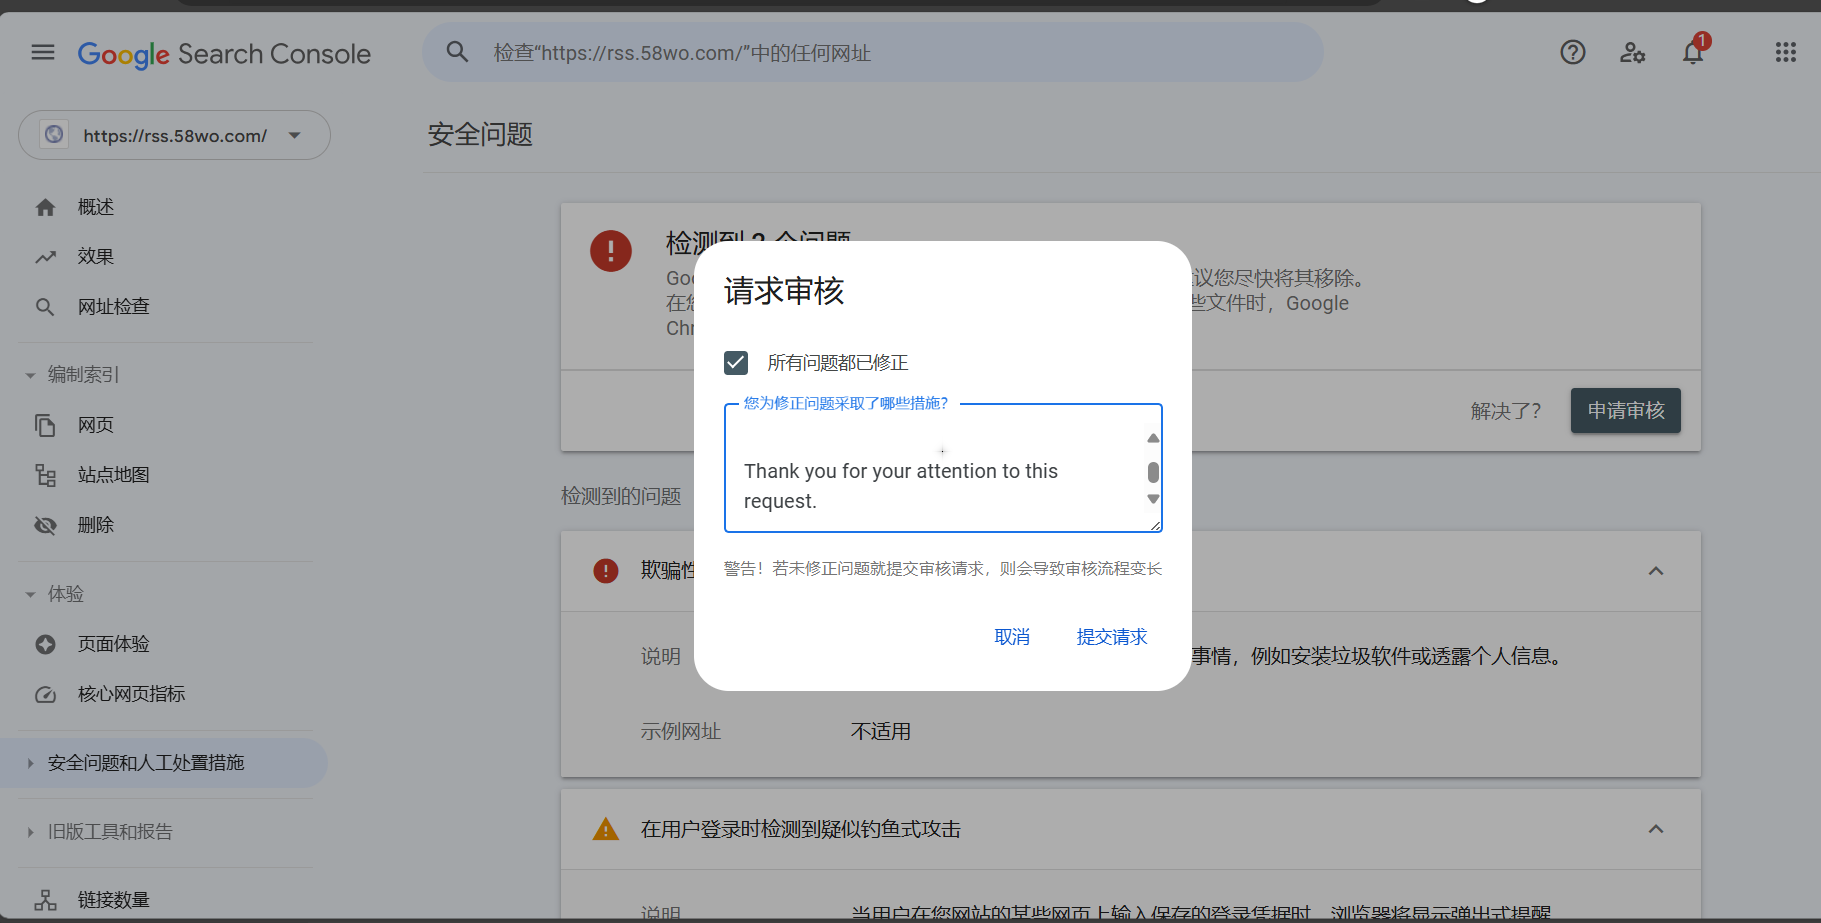
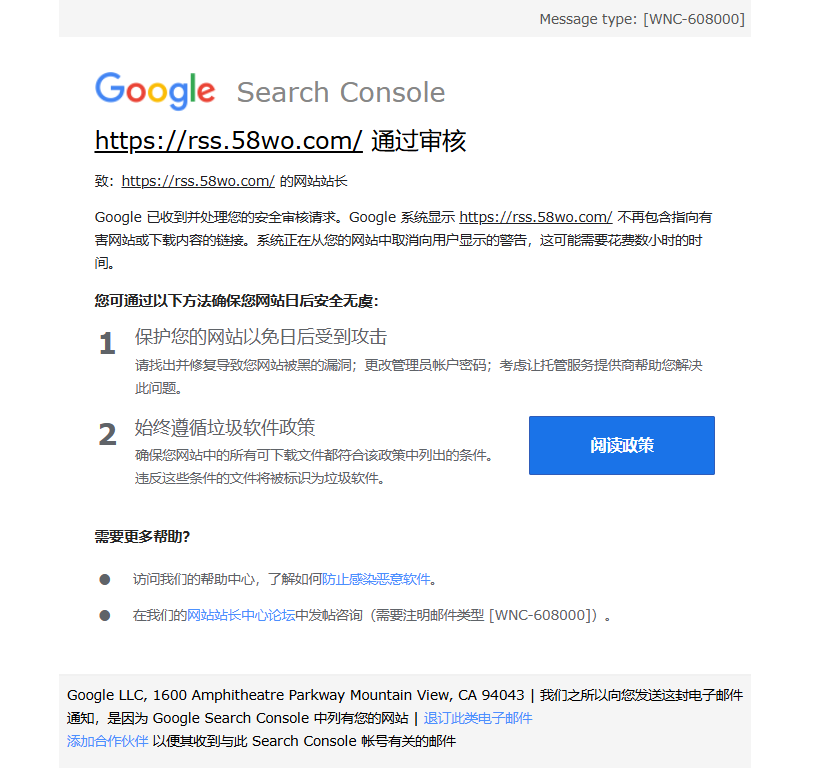
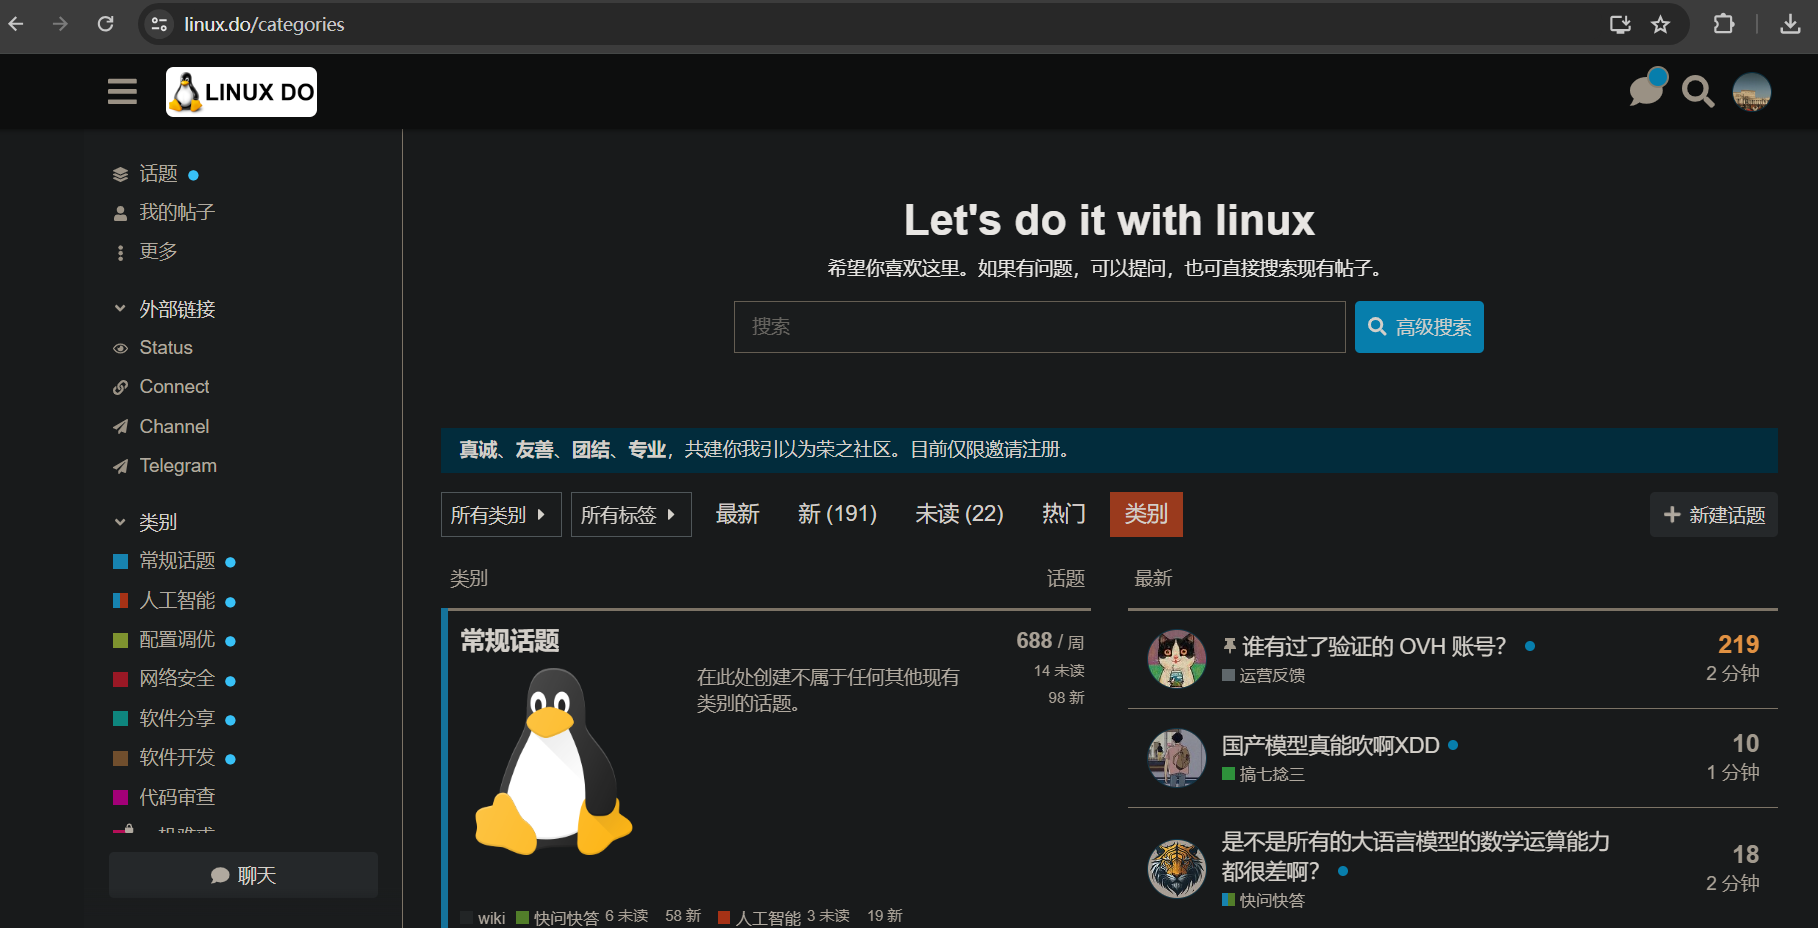
因为Chrome 频繁的对 TT Rss的标记,甚烦!加之国庆无聊,准备在国庆假期用GPT 来手搓一个极简的自用工具。肝了一晚上,终于提前上线 简阅RSS。
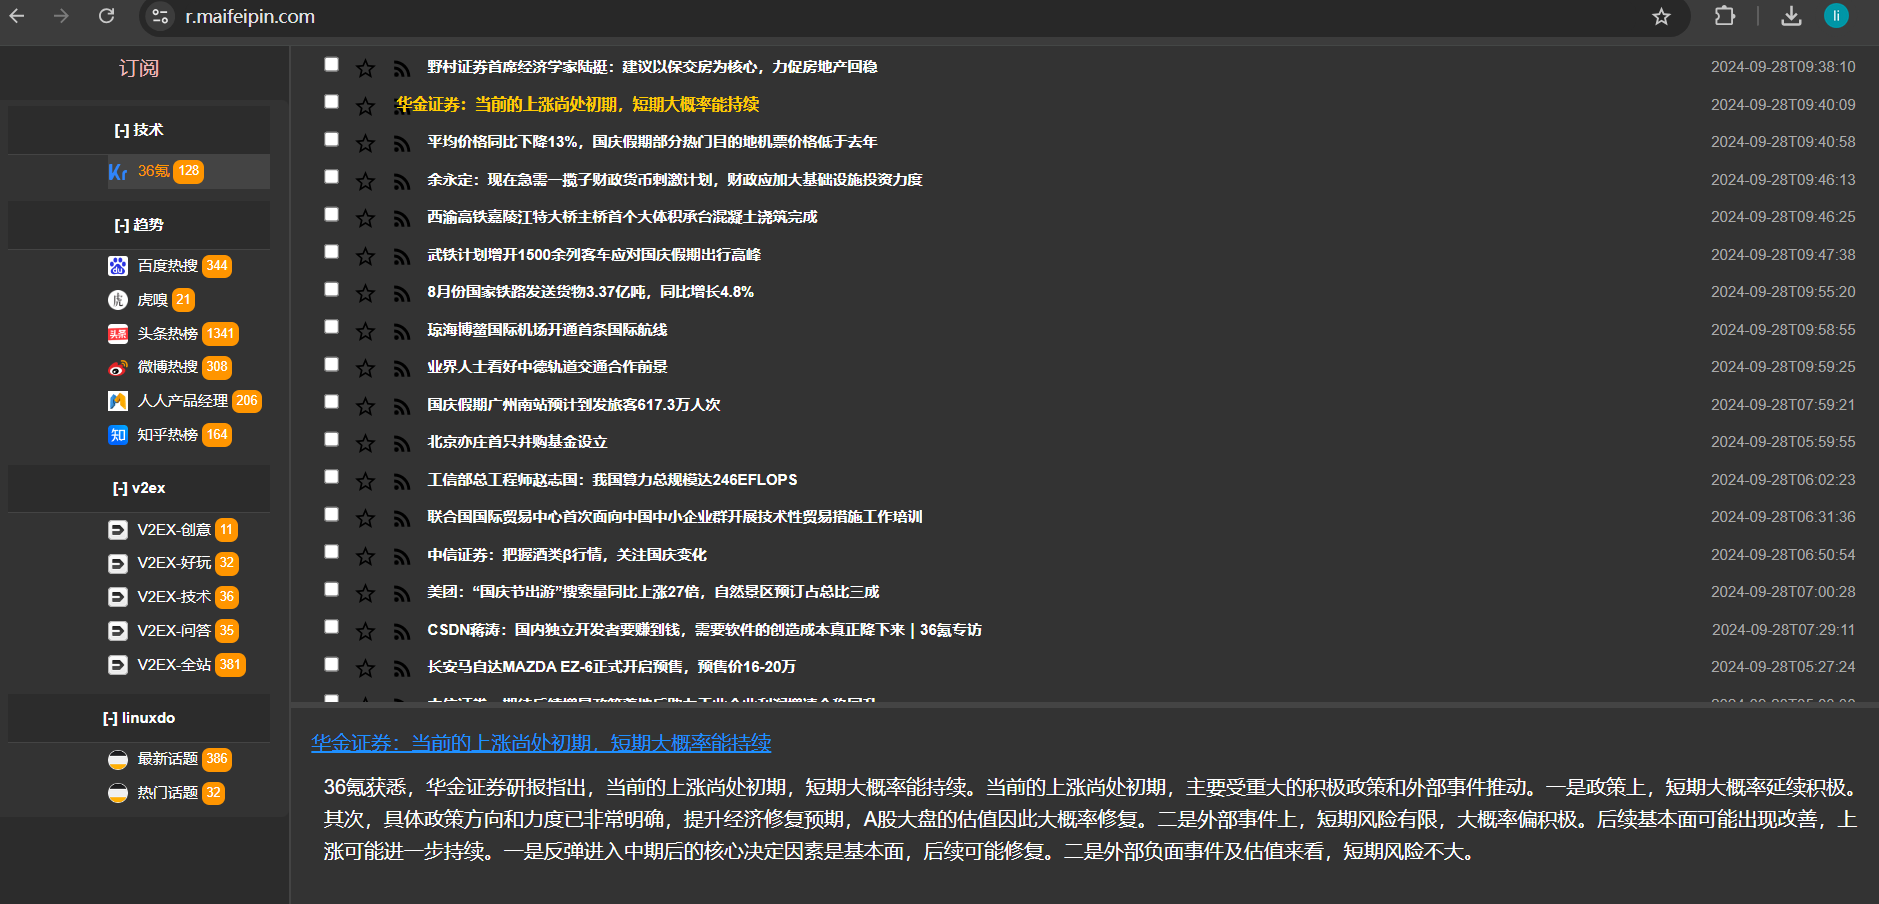
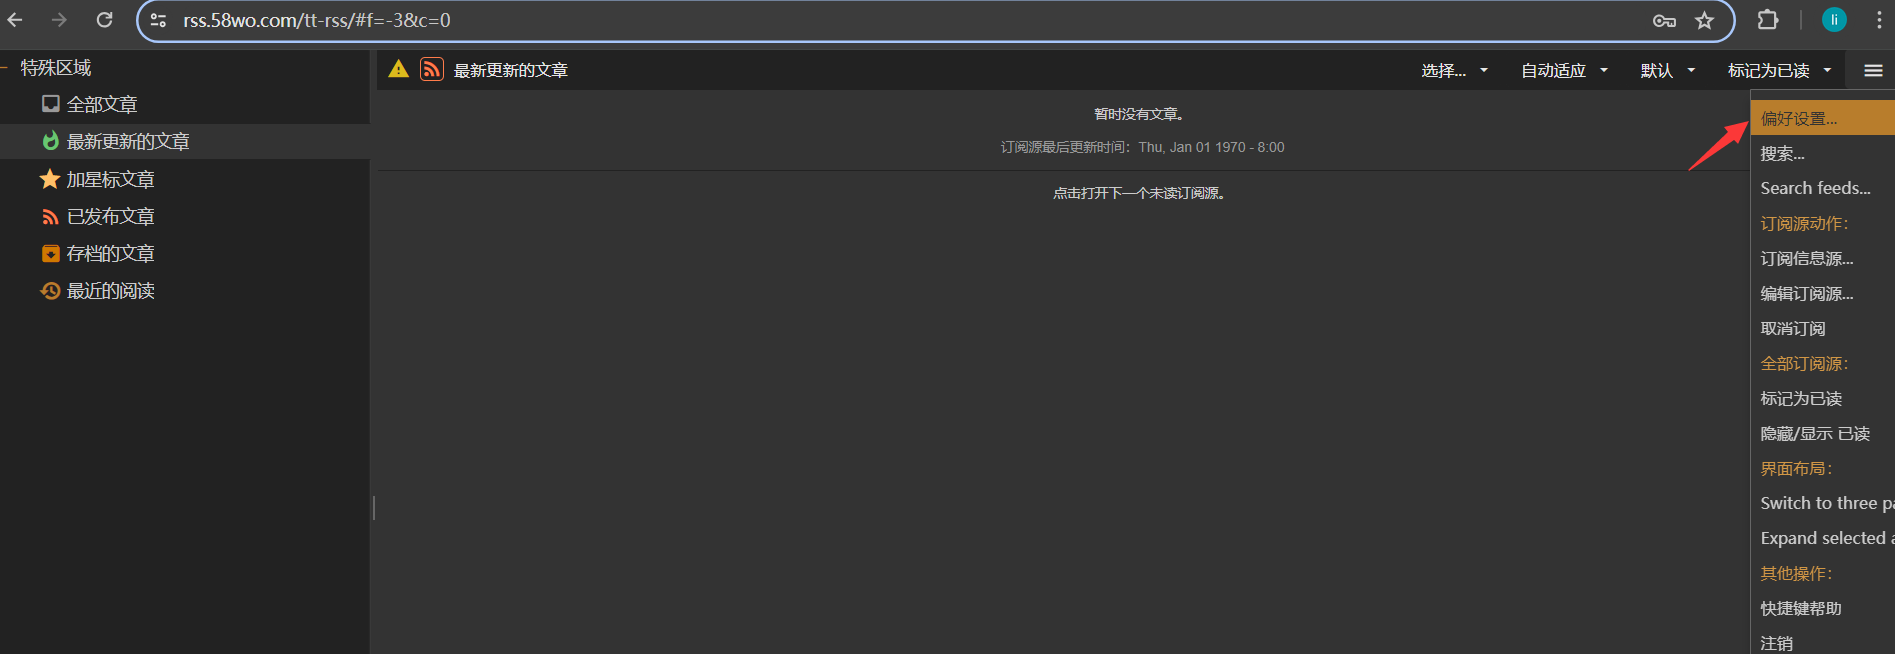
总体上就是,参照TT Rss 做的,因为GPT对CSS的回答和预期差太多,所以花费时间也比预期的长,只能暂时这样,等后面有时间,再搞它。现在只能在PC的Web端可用,对我来已经够用。
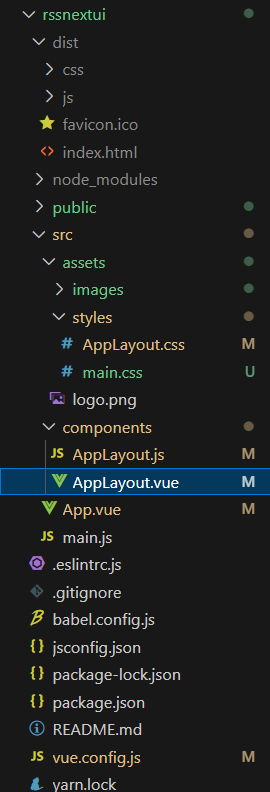
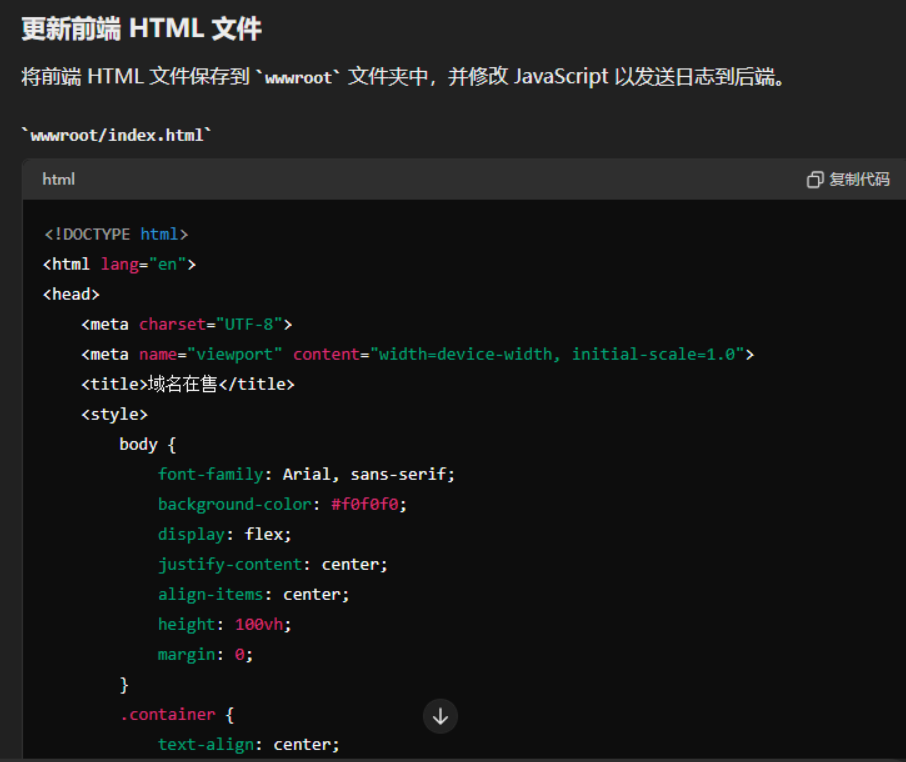
前端
因为初衷就是本着,极简自用,所以就是单个页面,虽然GPT在CSS方面回答上,不容易对焦。但只是需要多试几次而已,我只是把TT Rss 的界面截图发给它,然后它就给我生成这个页面。然后在这个页面慢慢问,不停的问就行了。
<template> <div class="app-layout"> <div class="main-content"> <!-- Sidebar (left) --> <div class="resizable-sidebar" :style="{ width: sidebarWidth + 'px' }"> <h6 class="p-2">订阅</h6> <ul class="list-group"> <li v-for="group in treeGroups" :key="group.id" class="list-group-item"> <strong @click="toggleGroup(group)" class="group-header"> <span>{{ group.isOpen ? '[-]' : '[+]' }}</span> {{ group.name }} </strong> <ul v-show="group.isOpen"> <li v-for="node in getNodesForGroup(group.id)" :key="node.id" class="tree-node" :class="{ active: selectedNode === node }" @click="selectFeedNode(node)" > <img :src="'data:image/png;base64,' + node.siteIcon" alt="icon" /> {{ node.siteName }} <span class="node-count">{{ node.totalFeed }}</span> </li> </ul> </li> </ul> </div> <!-- Resizable divider (vertical) --> <div class="divider-vertical" @mousedown="startResizingVertical"></div> <div class="content-area" ref="contentArea"> <!-- Article List (顶部部分) --> <div class="article-list p-3" :style="{ height: articleListHeight + 'px' }"> <h6>{{selectedNode?selectedNode.siteName :''}}-文章列表</h6> <ul class="list-group"> <li v-for="article in selectedArticles" :key="article.id" class="list-article-item" @click="selectArticle(article)" > <input type="checkbox" class="checkbox" :checked="article.isSelected" @change="toggleSelectArticle(article)" /> <img src="@/assets/images/star.svg" class="icon bookmark-icon" alt="bookmark icon" /> <img src="@/assets/images/rss.svg" class="icon rss-icon" alt="rss icon" /> <span class="article-title">{{ article.title }}</span> <span class="pub-date">{{ article.pubDate }}</span> </li> </ul> </div> <!-- Divider for resizing --> <div class="divider-horizontal" @mousedown="startResizingHorizontal"></div> <!-- Article Summary (底部部分) --> <div class="article-summary p-3" :style="{ height: articleSummaryHeight + 'px', overflowY: 'auto' }"> <a v-if="itm" :href="itm.link || '#'" target="_blank">{{ itm?.title || "" }}</a> <div v-html="itm?.excerpt || ' '"></div> </div> </div> </div> </div></template> <script src="./AppLayout.js"></script> <style src="@/assets/styles/AppLayout.css" scoped></style>
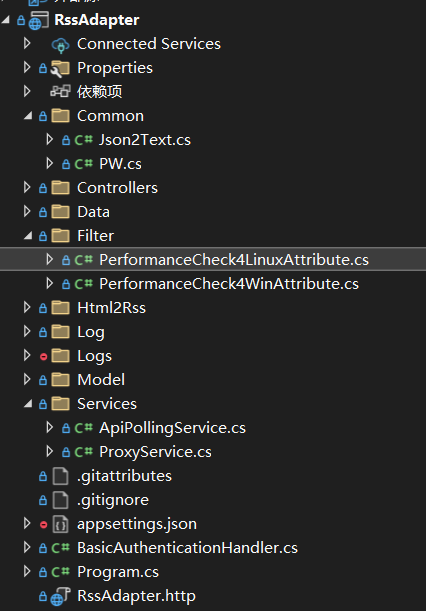
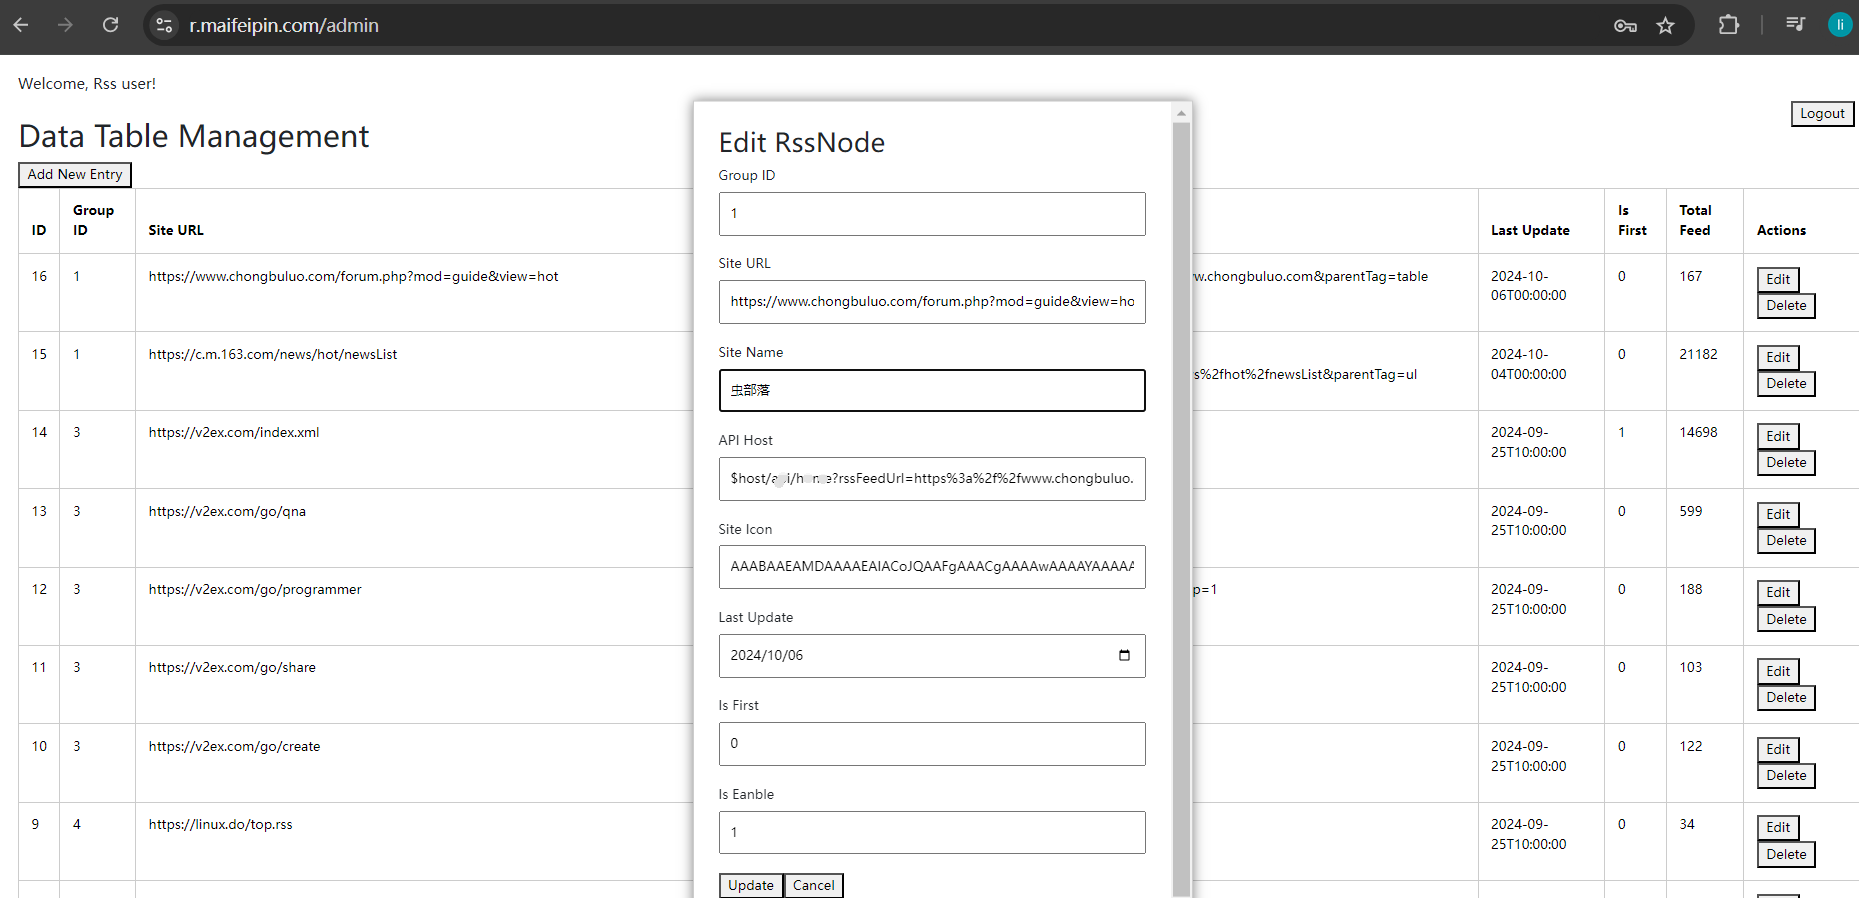
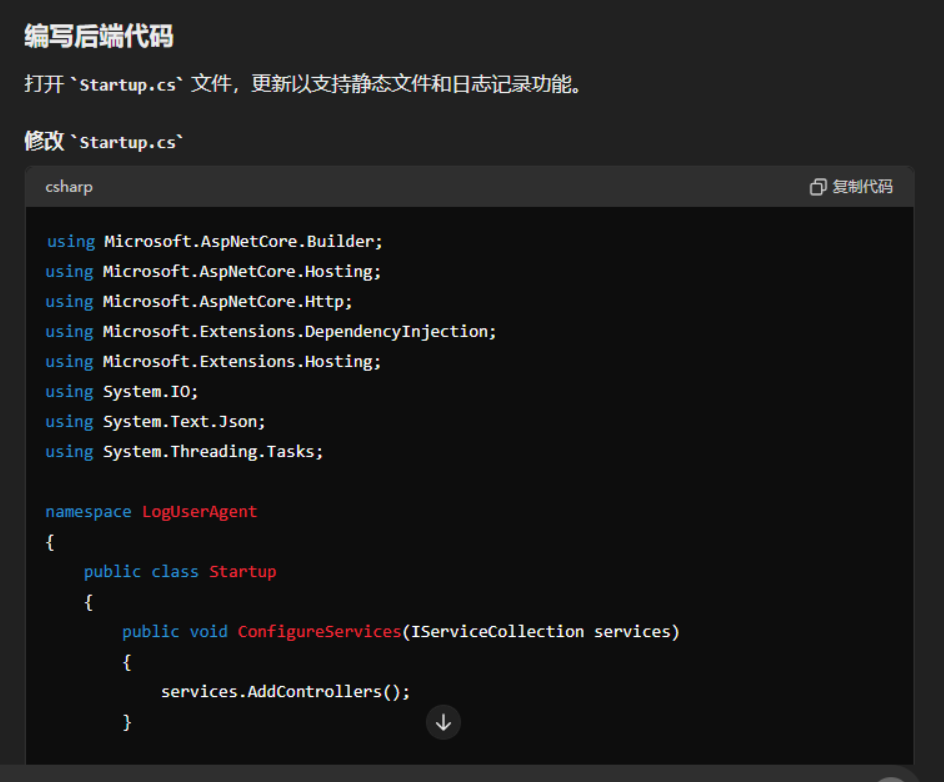
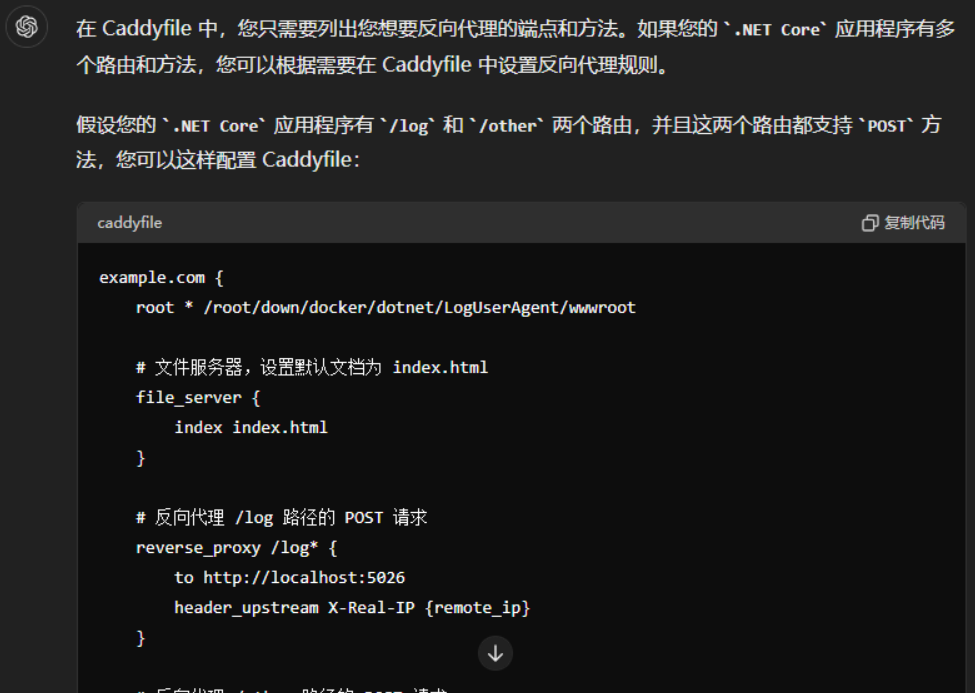
后端
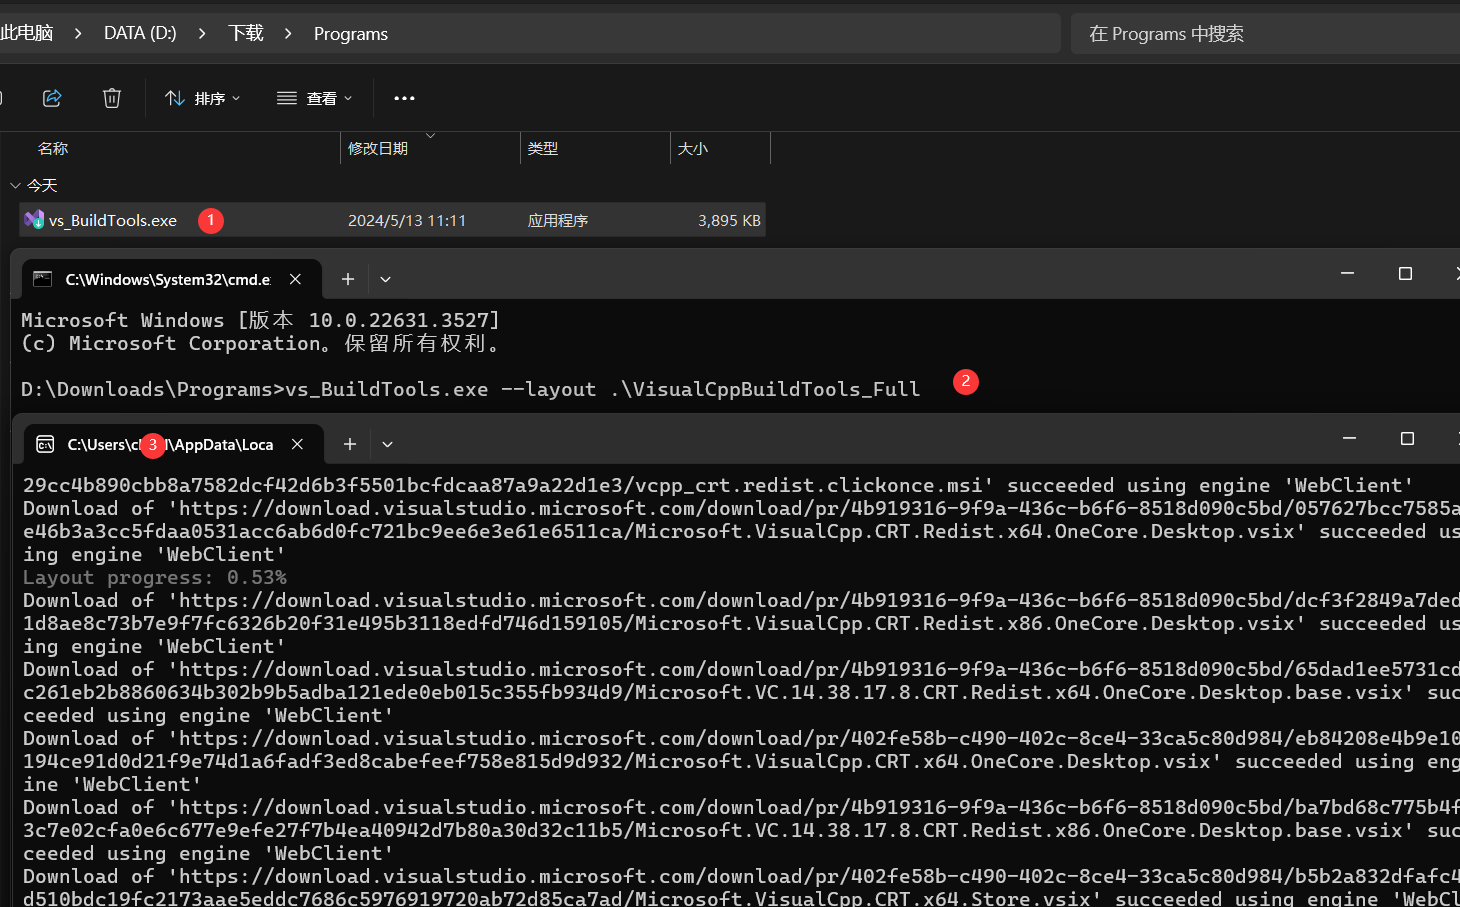
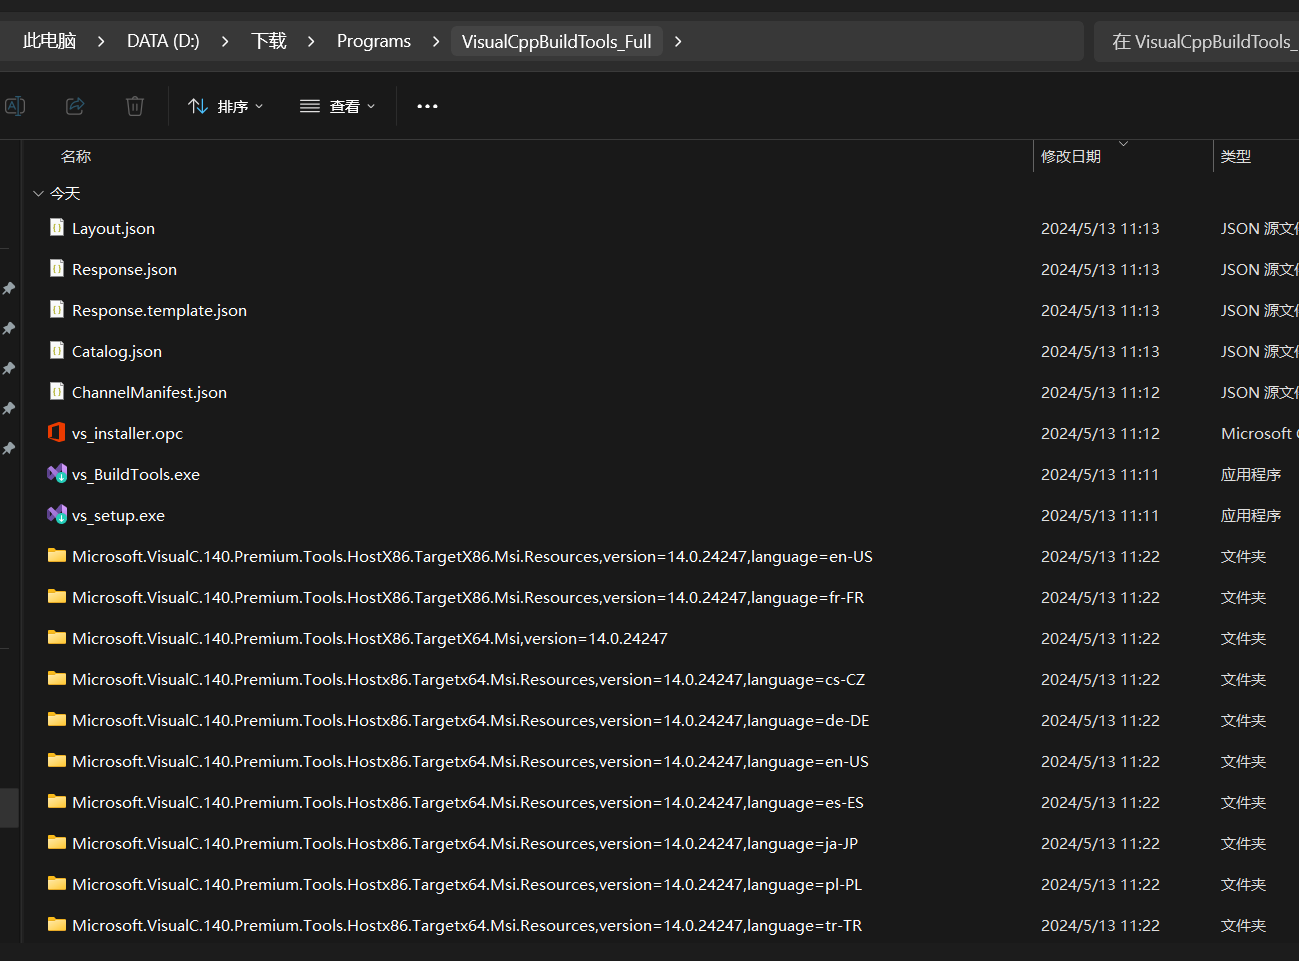
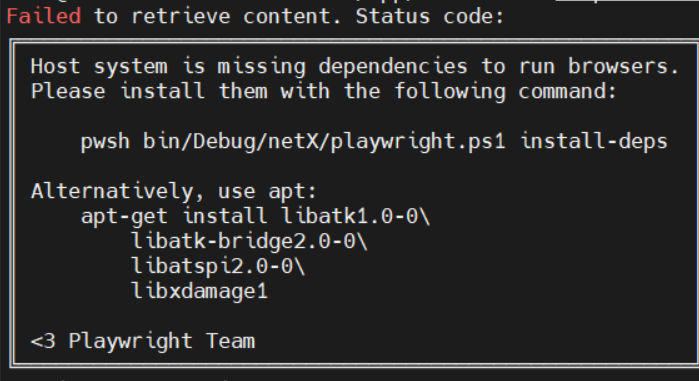
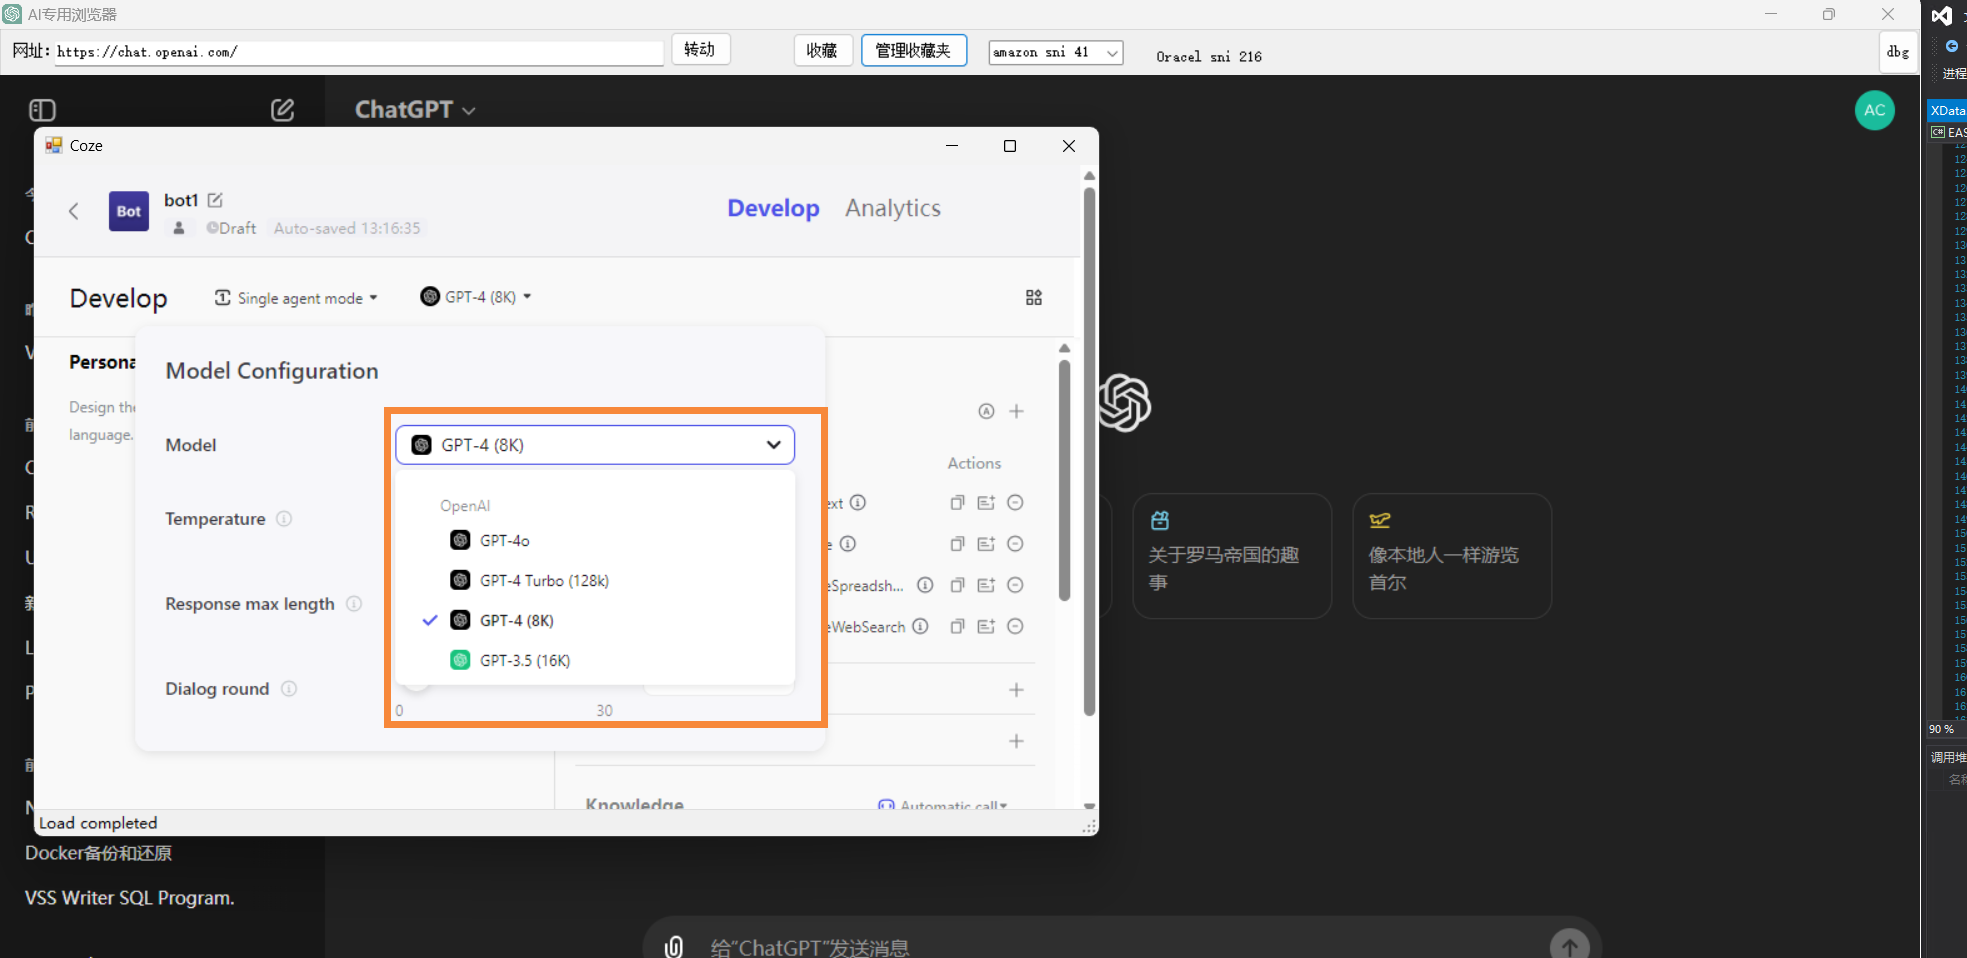
后端虽然代码多,Feed多就得啰嗦,有的给Feed ,直接用 SyndicationFeed 就能解析,有的web直接一个request 就能拿到html,也是扔给GPT,就能出代码。稍麻烦的需要认证的就得跑 playwright把cookie装上,下次请求时自动更新它。 但GPT给力,基本上一问就是标准答案,所以花的时间反而最少的。
PW.cs
using Microsoft.Playwright;namespace RssAdapter.Common{ public class PW { private static IPlaywright _playwright; private static IBrowser _browser; private static IBrowserContext _context; private static readonly object _lock = new object(); public static async Task<IBrowserContext> GetBrowserContextAsync() { if (_context == null) { lock (_lock) { if (_context == null) { _playwright = Playwright.CreateAsync().Result; _browser = _playwright.Chromium.LaunchAsync(new BrowserTypeLaunchOptions { Headless = true }).Result; _context = _browser.NewContextAsync( new BrowserNewContextOptions { UserAgent = "Mozilla/5.0 (Windows NT 10.0; Win64; x64) AppleWebKit/537.36 (KHTML, like Gecko) Chrome/127.0.0.0 Safari/537.36", ViewportSize = new ViewportSize { Width = 1920, Height = 1080 }, //Locale = "en-US", // 模拟你本地的语言环境 //TimezoneId = "America/New_York", // 模拟时区 BypassCSP = true, JavaScriptEnabled = true }).Result; } } } return _context; } }}
linuxdo.cs
public async Task<IActionResult> Getlatest(){ try { string rssFeedUrl = "https://linux.do/latest.rss"; var uri = new Uri(rssFeedUrl); string CookieFilePath = Path.Combine(AppContext.BaseDirectory, "cookies", uri.Host); var context = await PW.GetBrowserContextAsync(); if (System.IO.File.Exists(CookieFilePath)) { // 从本地加载 cookies 并添加到 context var cookies = LoadCookiesFromFile(CookieFilePath); if (cookies != null) { await context.AddCookiesAsync(cookies); Console.WriteLine("Cookies loaded from file."); } } var page = await context.NewPageAsync(); await page.GotoAsync(rssFeedUrl, new PageGotoOptions { Timeout = 60000 }); await page.WaitForLoadStateAsync(LoadState.NetworkIdle); string content = await page.ContentAsync(); var updatedCookies = await context.CookiesAsync(); SaveCookiesToFile(updatedCookies, CookieFilePath); string xmlContent = ExtractXmlFromHtml(content); string schemeAndHost = $"{uri.Scheme}://{uri.Host}"; using (XmlReader reader = XmlReader.Create(new System.IO.StringReader(xmlContent))) { SyndicationFeed feed = SyndicationFeed.Load(reader); feed.Links.First().Uri = new Uri(rssFeedUrl); RSS2RSS rSS = new RSS2RSS(_configuration); rSS.SaveFeedToDatabase(feed); var responseData = rSS.ConvertFeedToString(feed); await page.CloseAsync(); return Ok(responseData); } } catch (Exception ex) { return BadRequest($"Failed to retrieve content. Status code: {ex.Message}"); }}
后续
这是一个开始,RSS 聚合本身就是Feed内容一个载体,需要不断更新和积累,它就是为信息和数据的连接而产生的,“数据”是客观量化的结果,而”信息“ 有传递变化之意。
感谢TT Rss ,它给使用Rss 提供了方便。
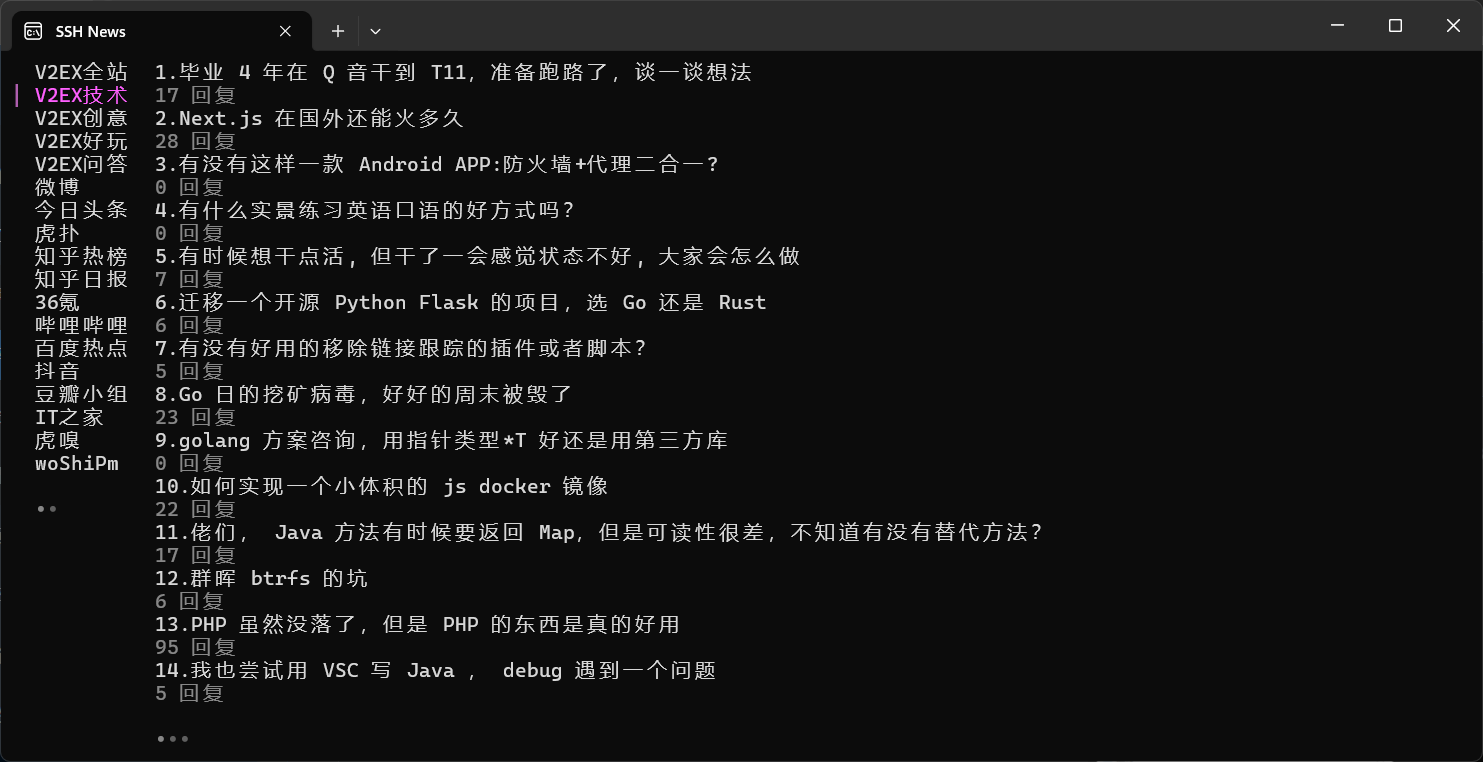
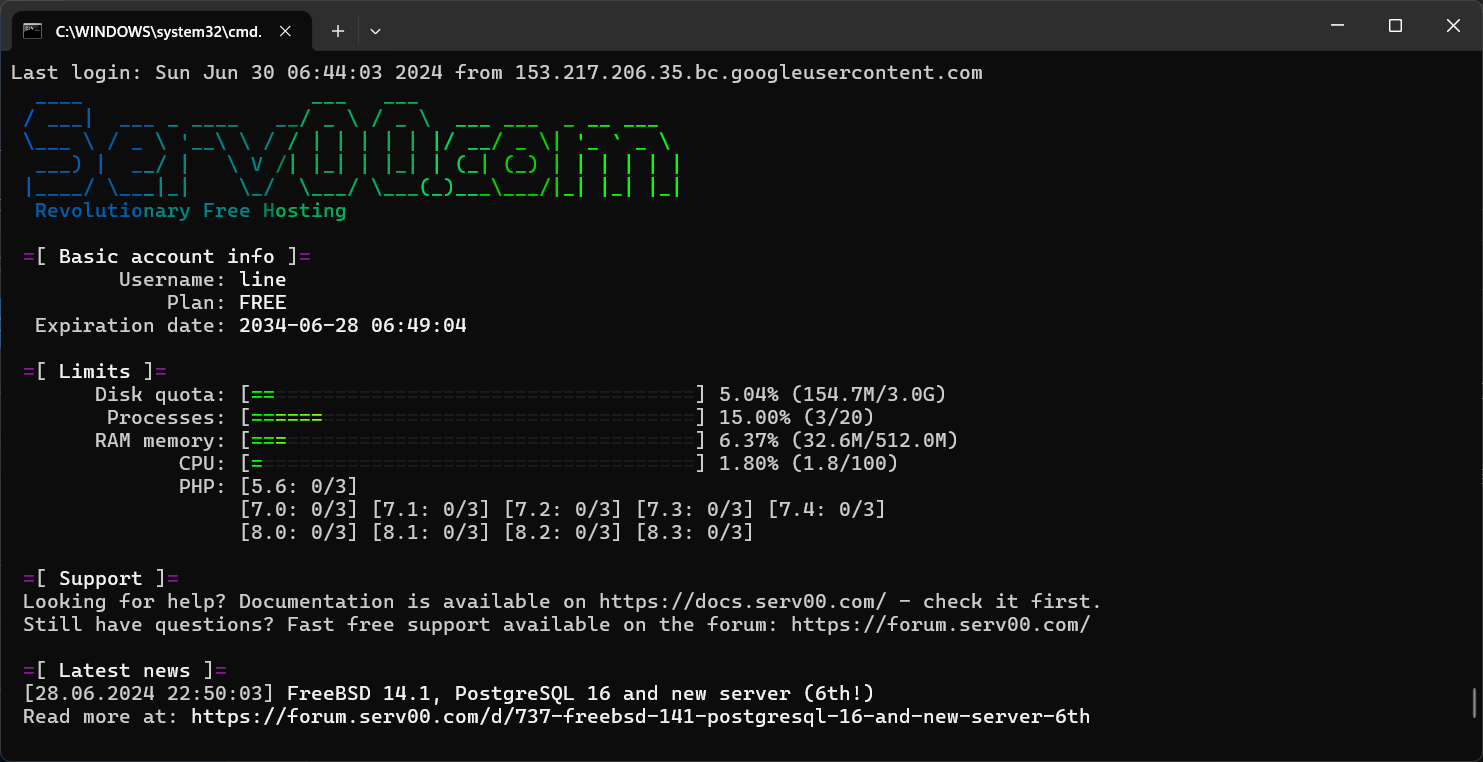
感谢 ssh-news.top 的创意,它极大触动了我,让我有自建Web to Rss的动力,把它运行在IDE的终端里,没人分清楚你在上网还是调试代码。
最后,天佑合肥!
]]>


![33c119b86373de74f2d67d9afecdd67338f9b34b[1]](/upload/2024/05/33c119b86373de74f2d67d9afecdd67338f9b34b%5B1%5D.png)